In Part 1, we learned how to connect the XAG One App to a custom XYZ tiled map. My original plan for Part 2 was to continue this geospatial journey and show how to use QGIS to transform your orthomosaic .tif to a tiled format. Then, in Part 3, we’d put it all together and have the tiles hosted online. This would have involved a lot of explanation, and you would have learned some really cool stuff. However, there's an easier way to accomplish this!
By the end of this article, you will be able to connect your drone images to your XAG One App!
We'll use OpenAerialMap to both convert our .tif file and host the tiled map. OpenAerialMap is an open-source project. Read how your data will be licensed, and ensure you're comfortable sharing your aerial images with the world. Watch the
to get a flavor of this cool project.
If you're ready to proceed, locate a .tif image on your computer that you want to work with. The .tif file must be georeferenced. If you need to learn how to process aerial imagery, let me know, and I can point you in the right direction. I've tried lots of options, but my favorite is OpenDroneMap. This is another open-source project. I use a commercialized instance webODM.net. Basically, I just pay for processing time I use. There's a cost calculator that can help you understand why I like this option.
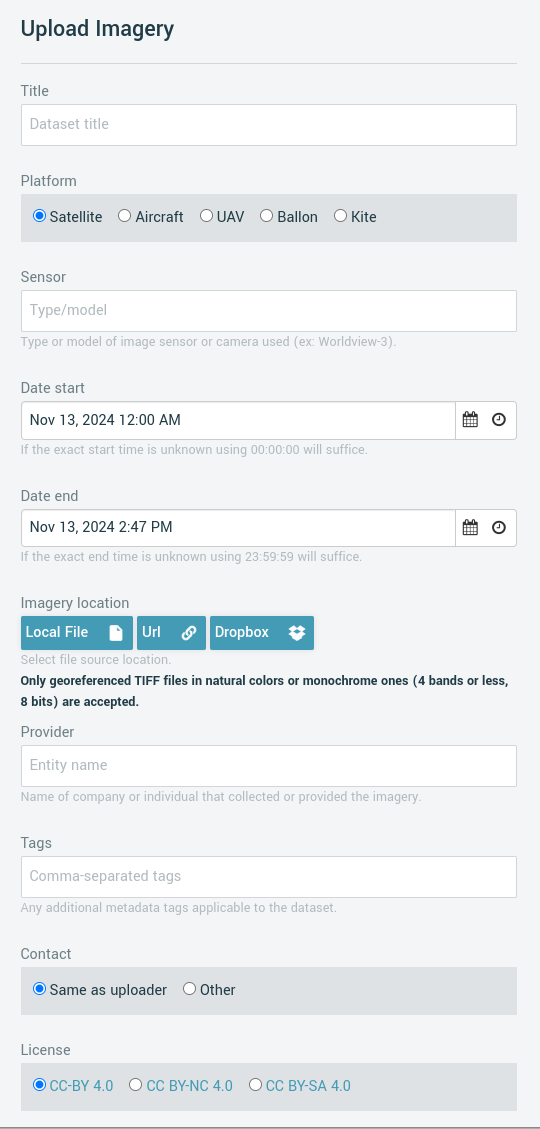
Now, log into map.openaerialmap.org using your Google account. Click the upload button in the upper right corner. Here, you just need to provide the information that is asked for and upload the file. It may take a few minutes for the file to be uploaded and then processed by the server. You will get an email with the subject: [ OAM Uploader ] Imagery upload submitted. It shouldn't be long before the status of your upload changes to “Finished.”
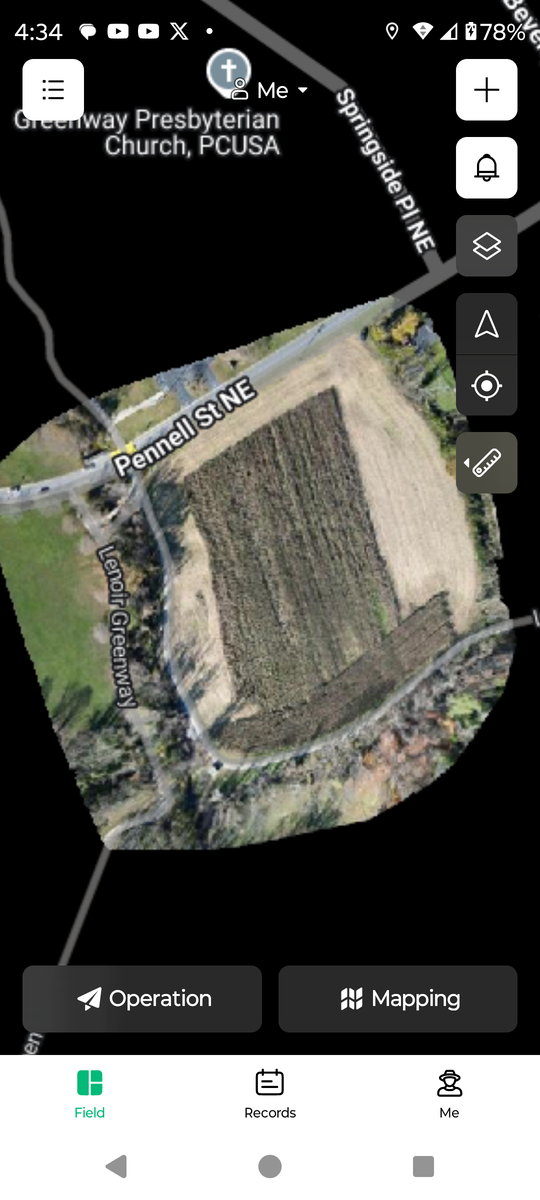
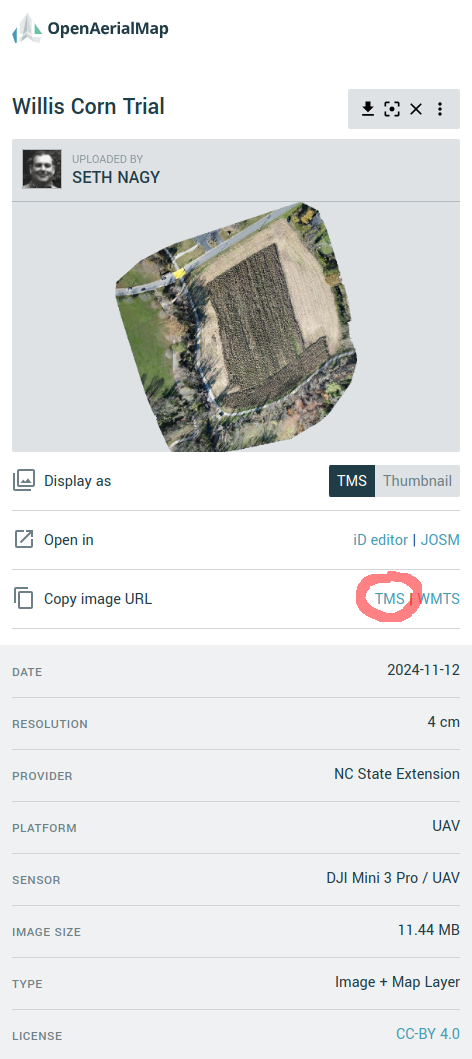
Once this happens, visit map.openaerialmap.org from your phone. Sign in, go to your images, select the aerial image you want and copy the TMS link. Last step is to just paste this url into your XAG One App as you learned to do in Part 1.
I hope this has been helpful. Please let me know if this is working for you or if you encounter any problems.